Experience One of the Premier Donald Ross Golf Courses in North Carolina
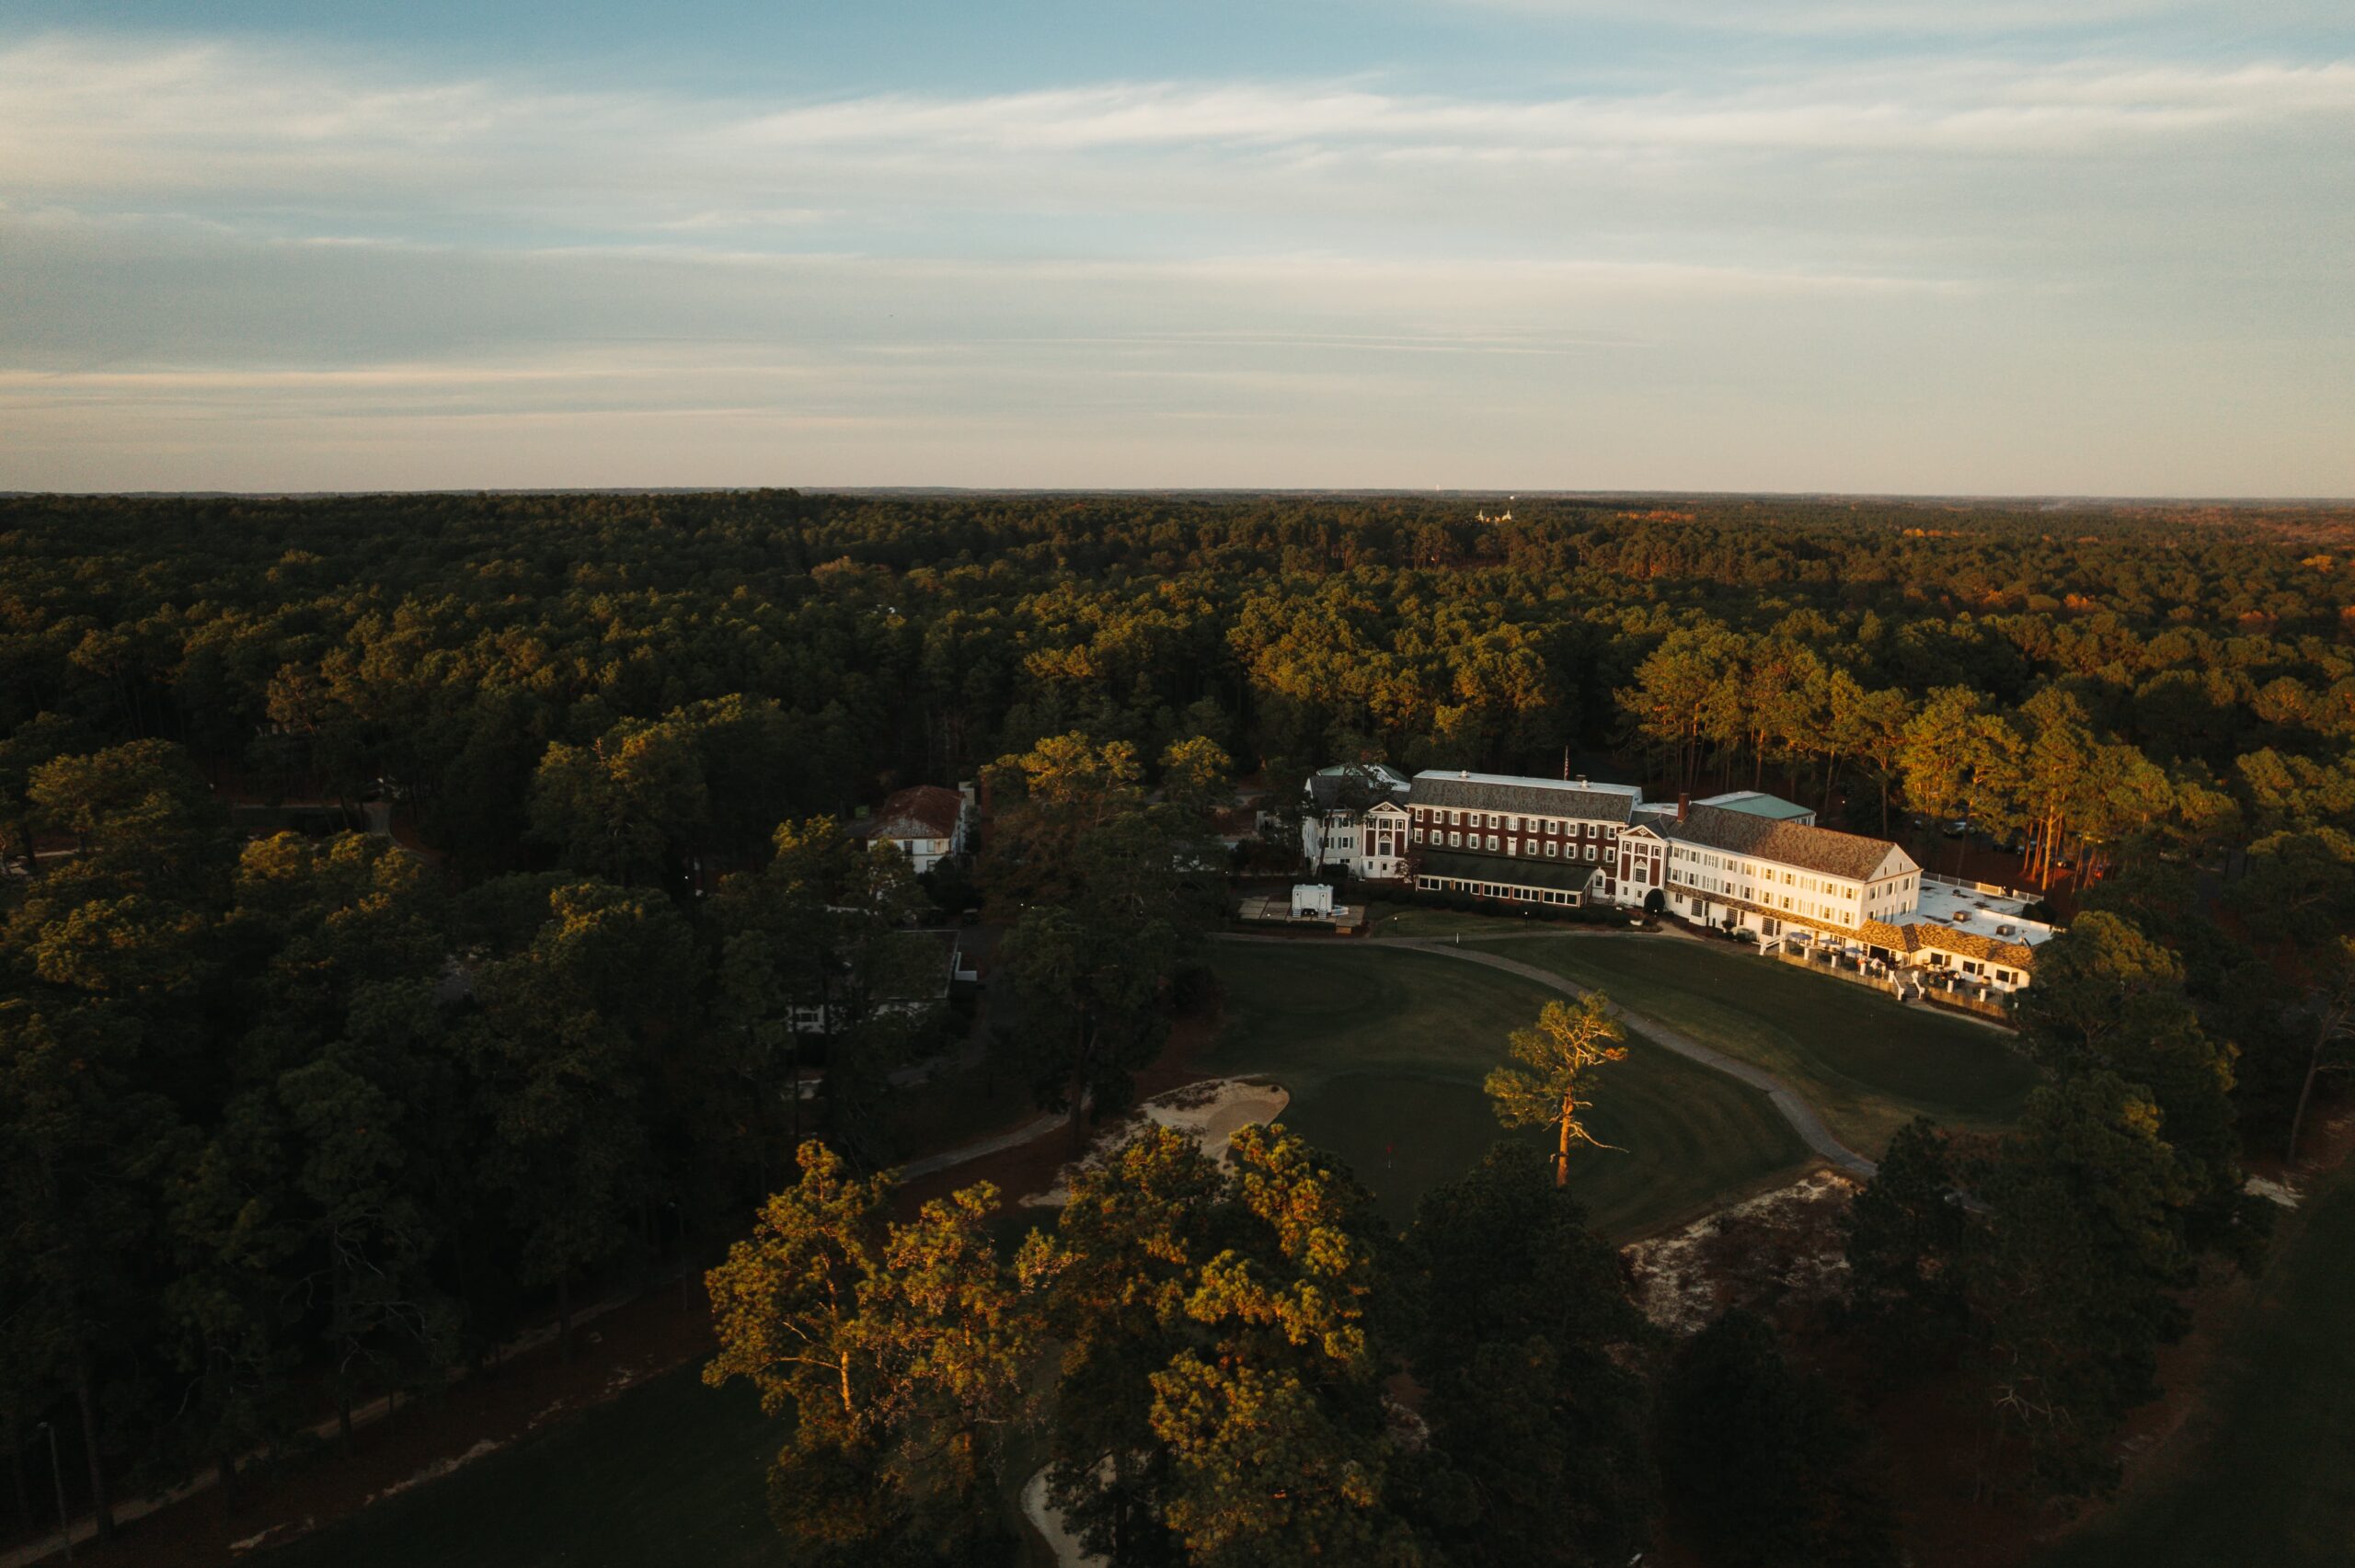
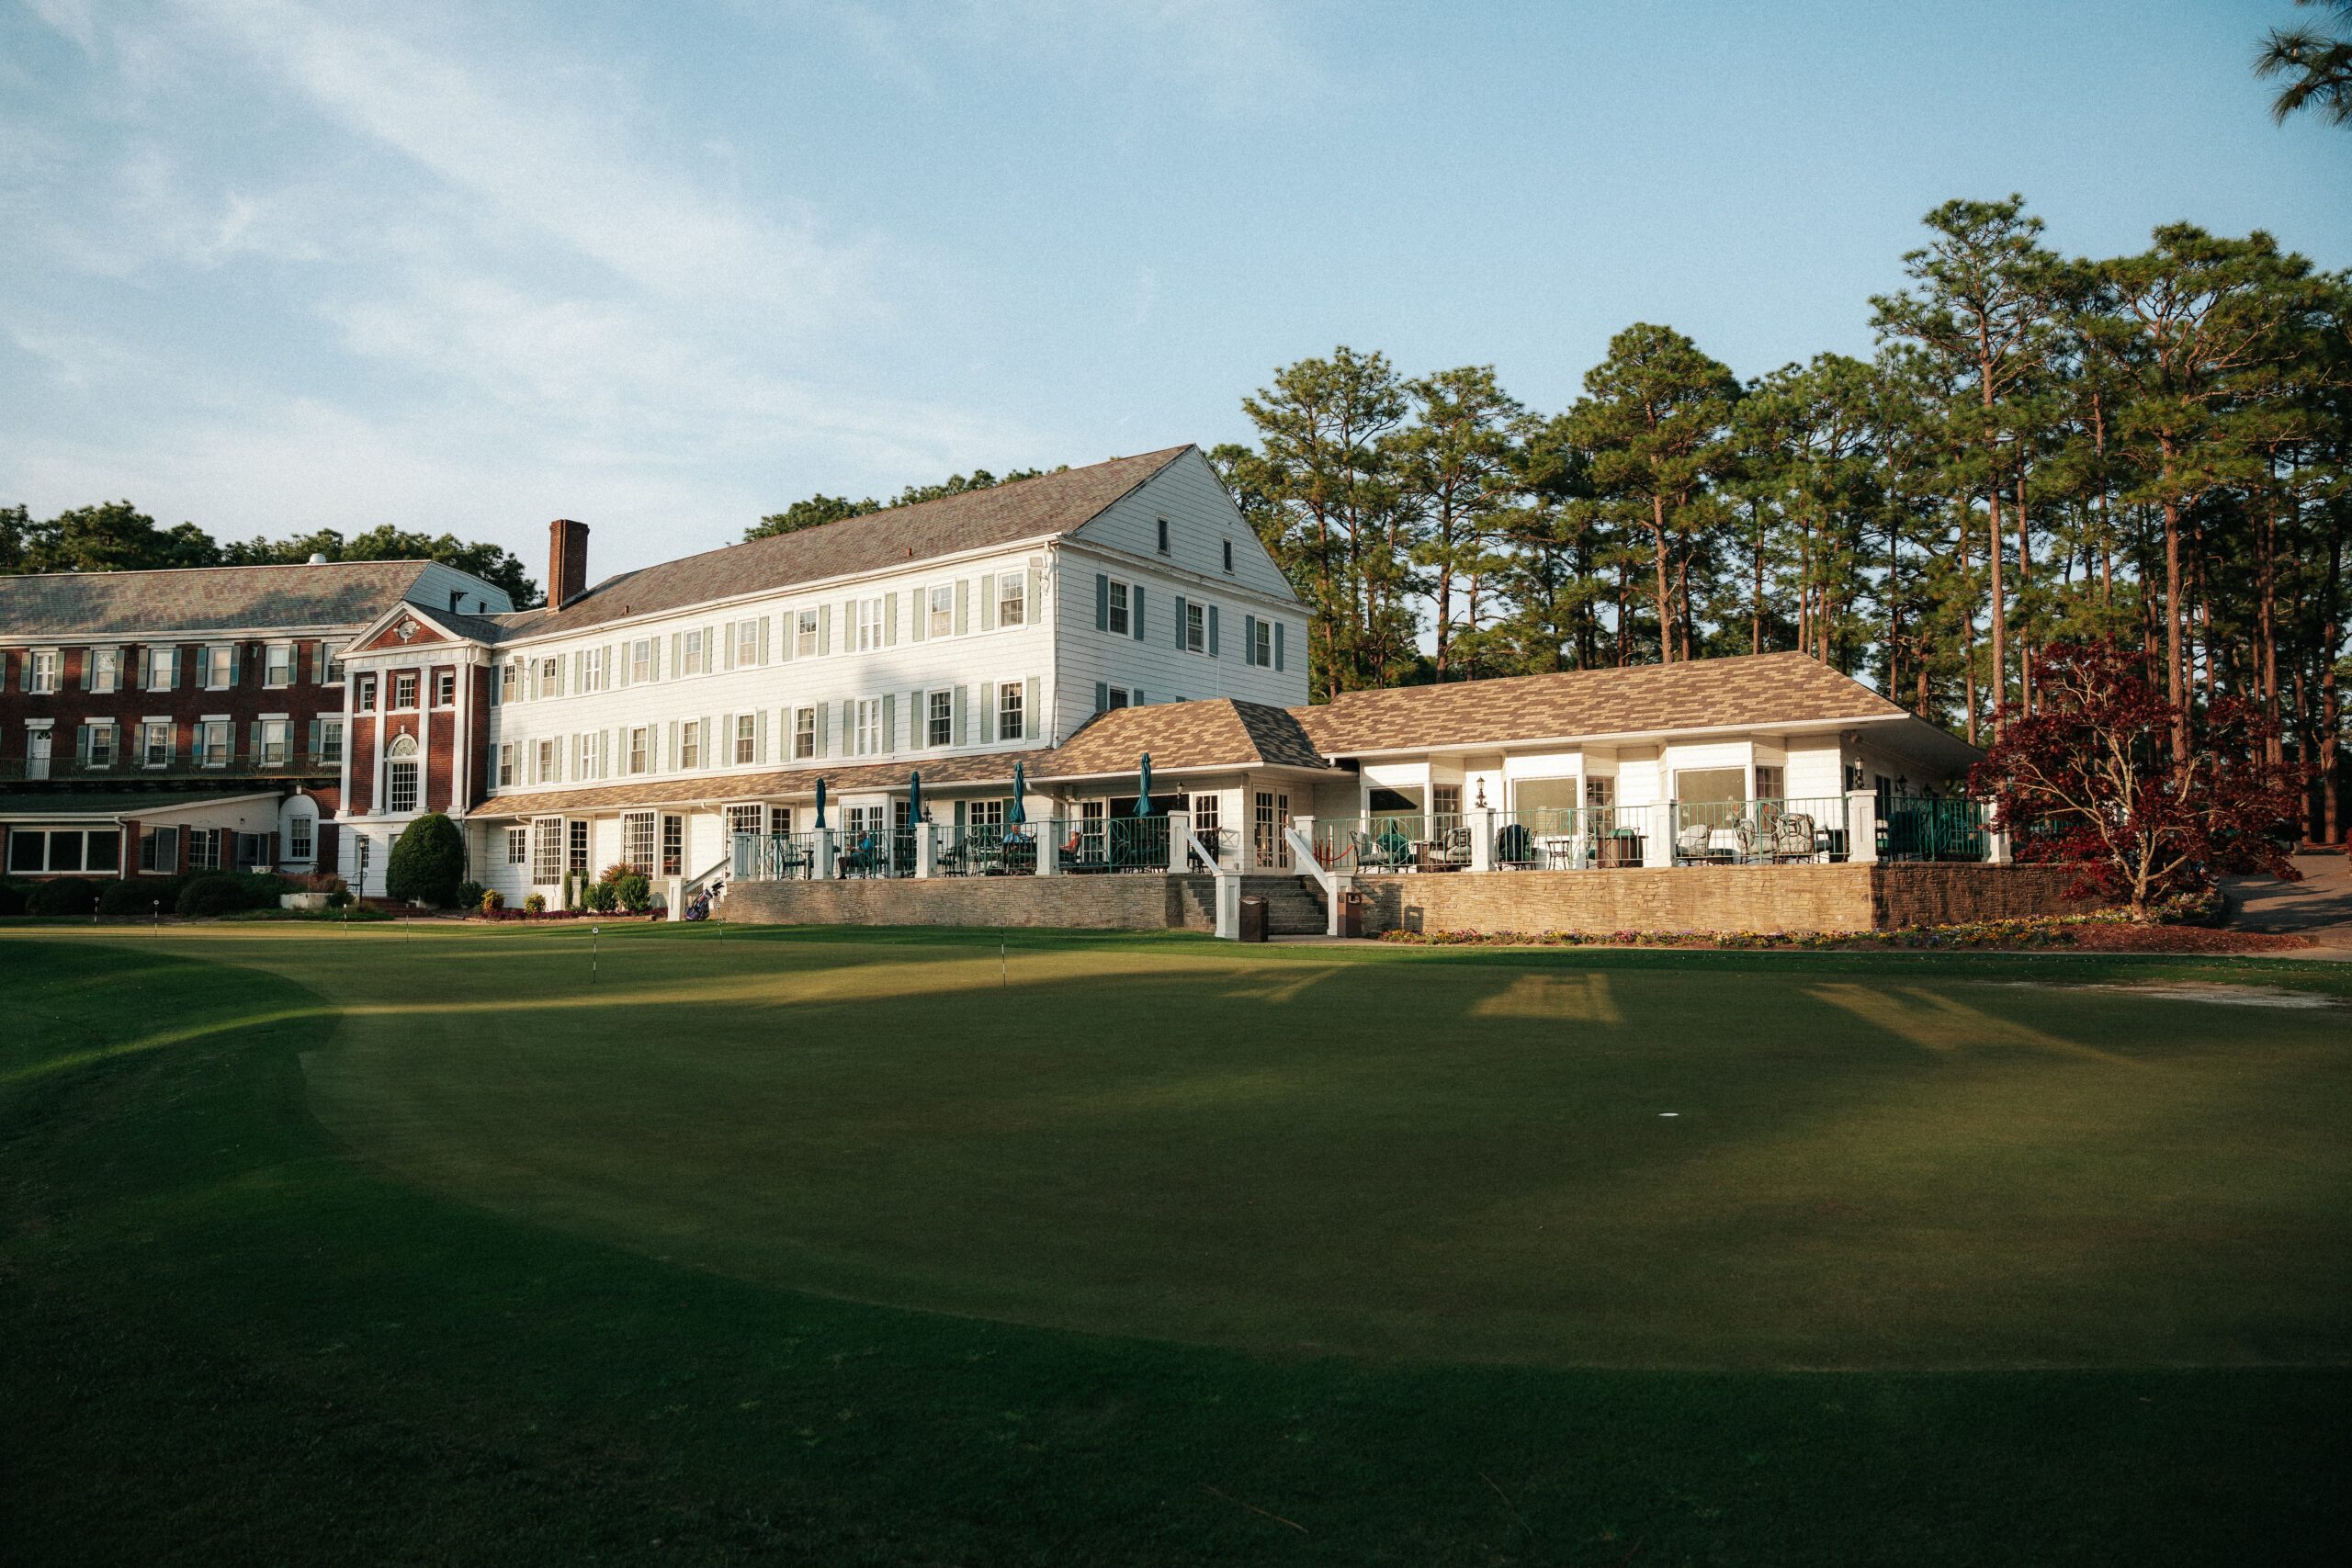
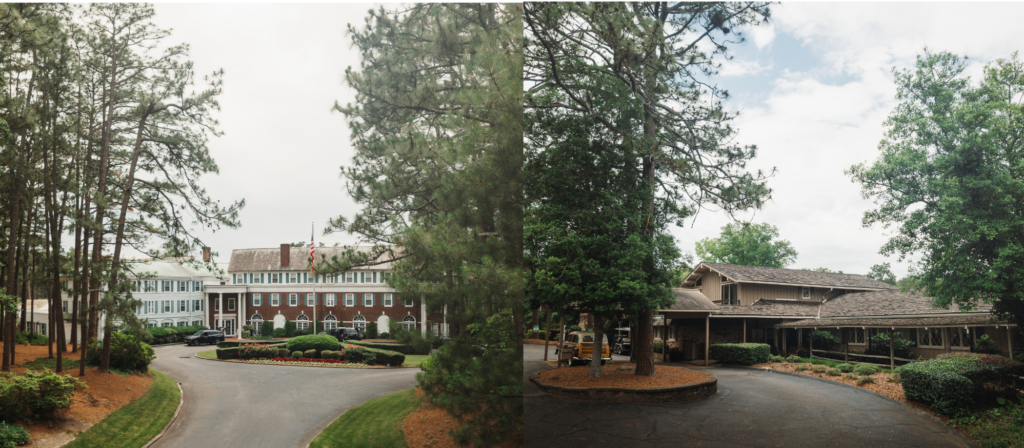
A North Carolina Golf Resort
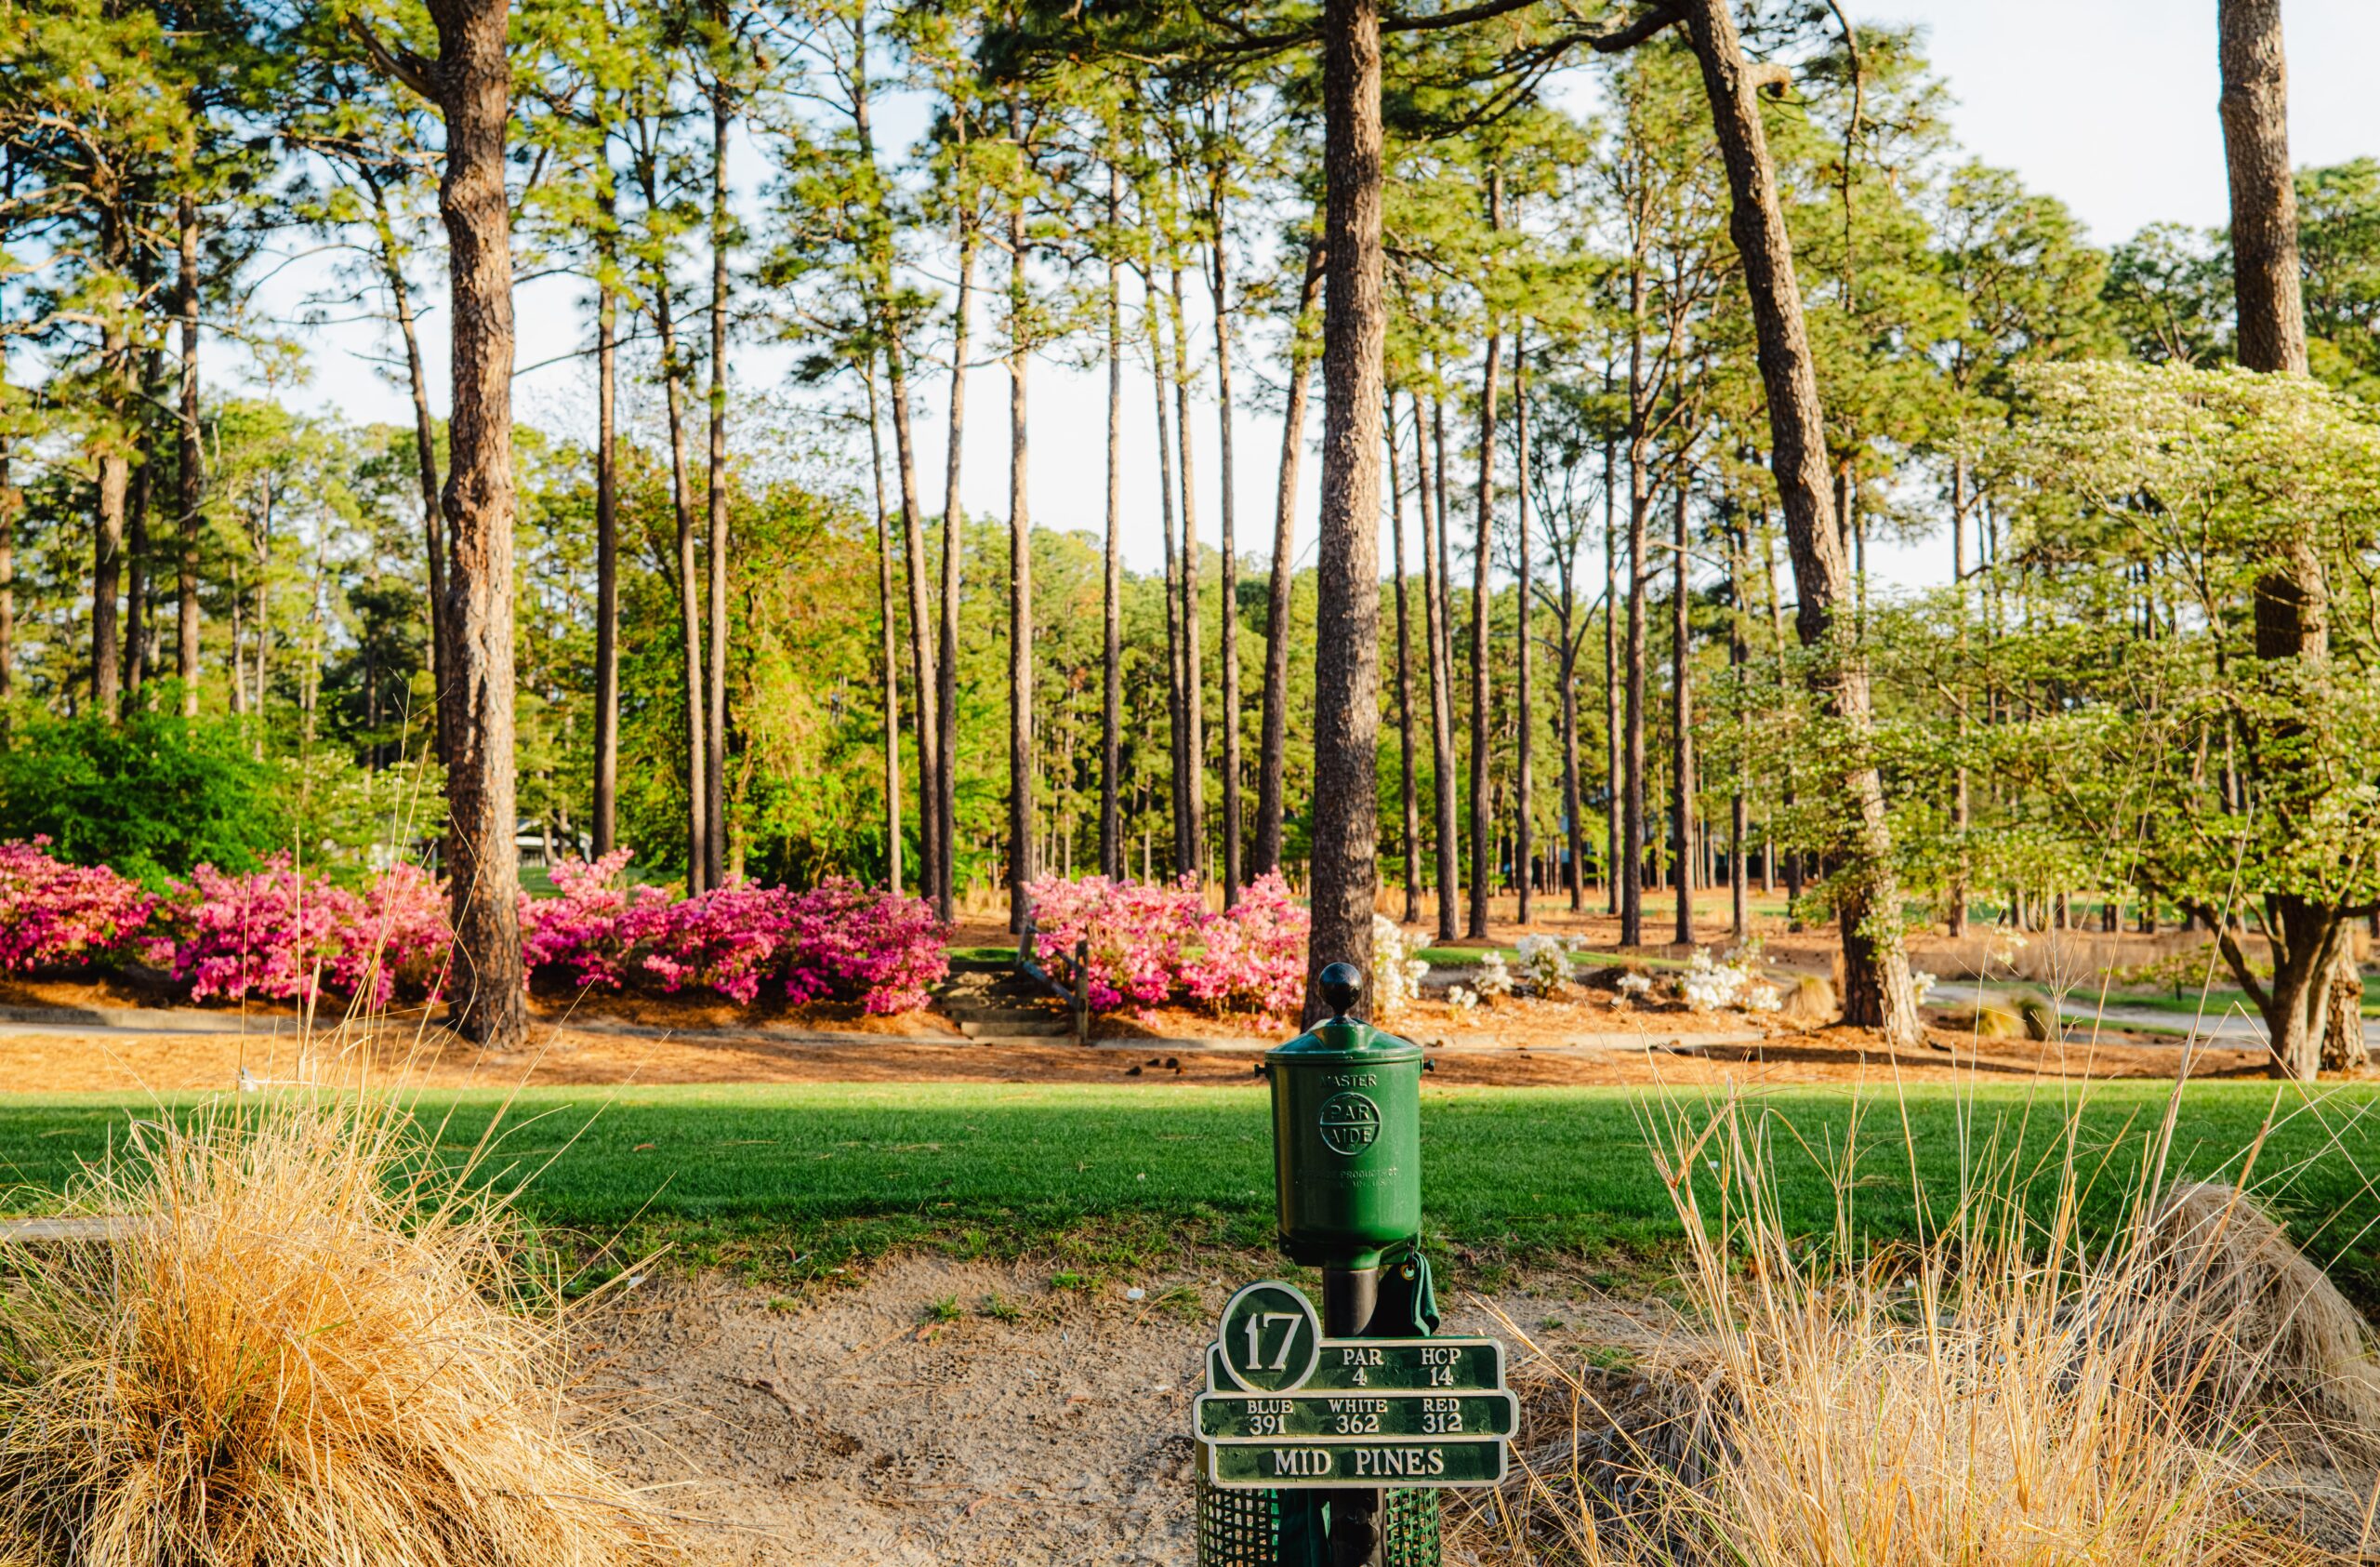
Mid Pines Golf
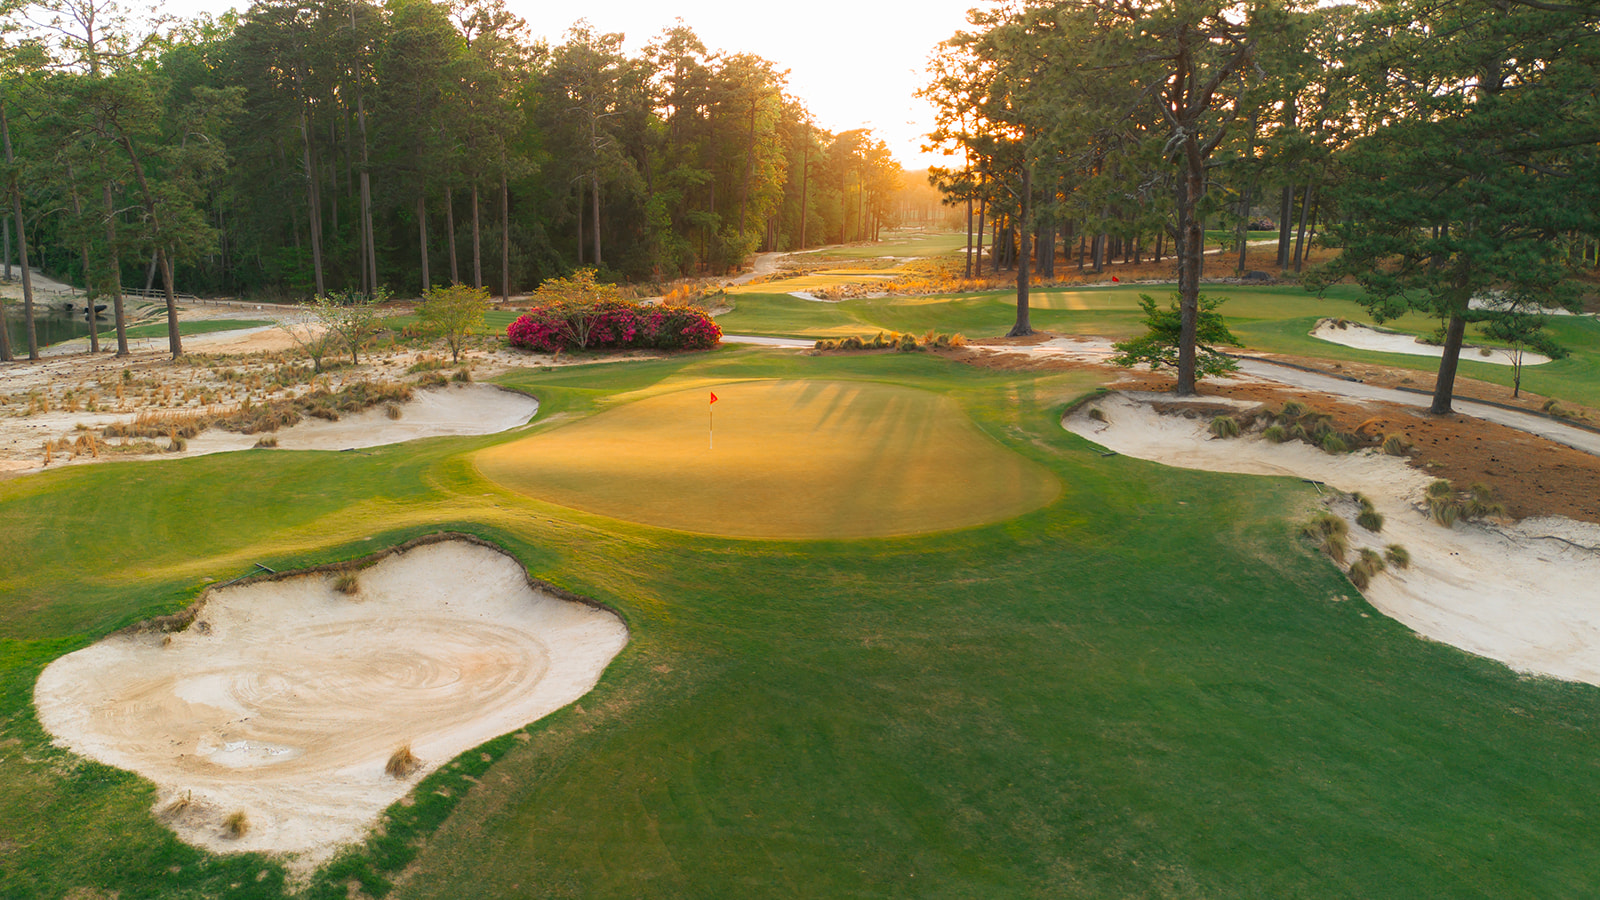
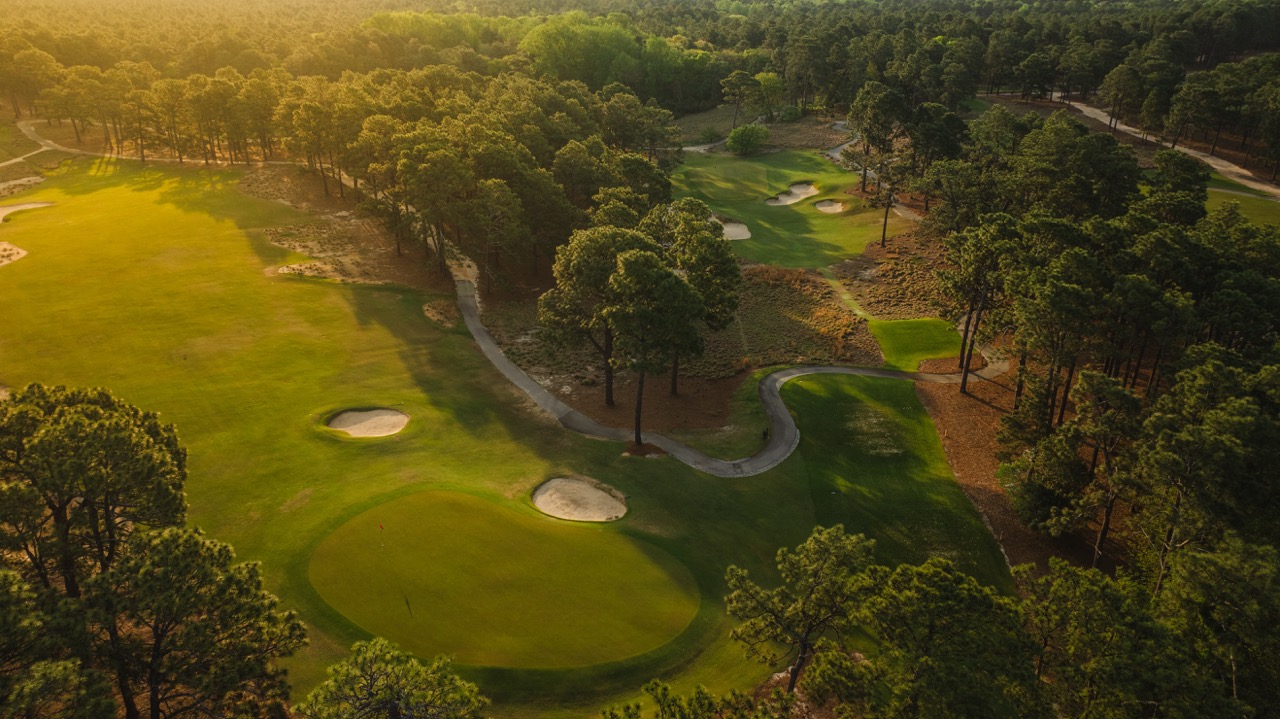
A rarity among classic designs, Mid Pines Golf Club stands as one of the most authentic examples of Donald Ross architecture among North Caroline golf resorts. Originally crafted in 1921 and meticulously restored by Kyle Franz in 2013, the course remains remarkably true to Ross’ original vision. The restoration earned national recognition from GOLF Magazine as the Best U.S. Resort Renovation, further solidifying its place among the most respected North Carolina golf courses.
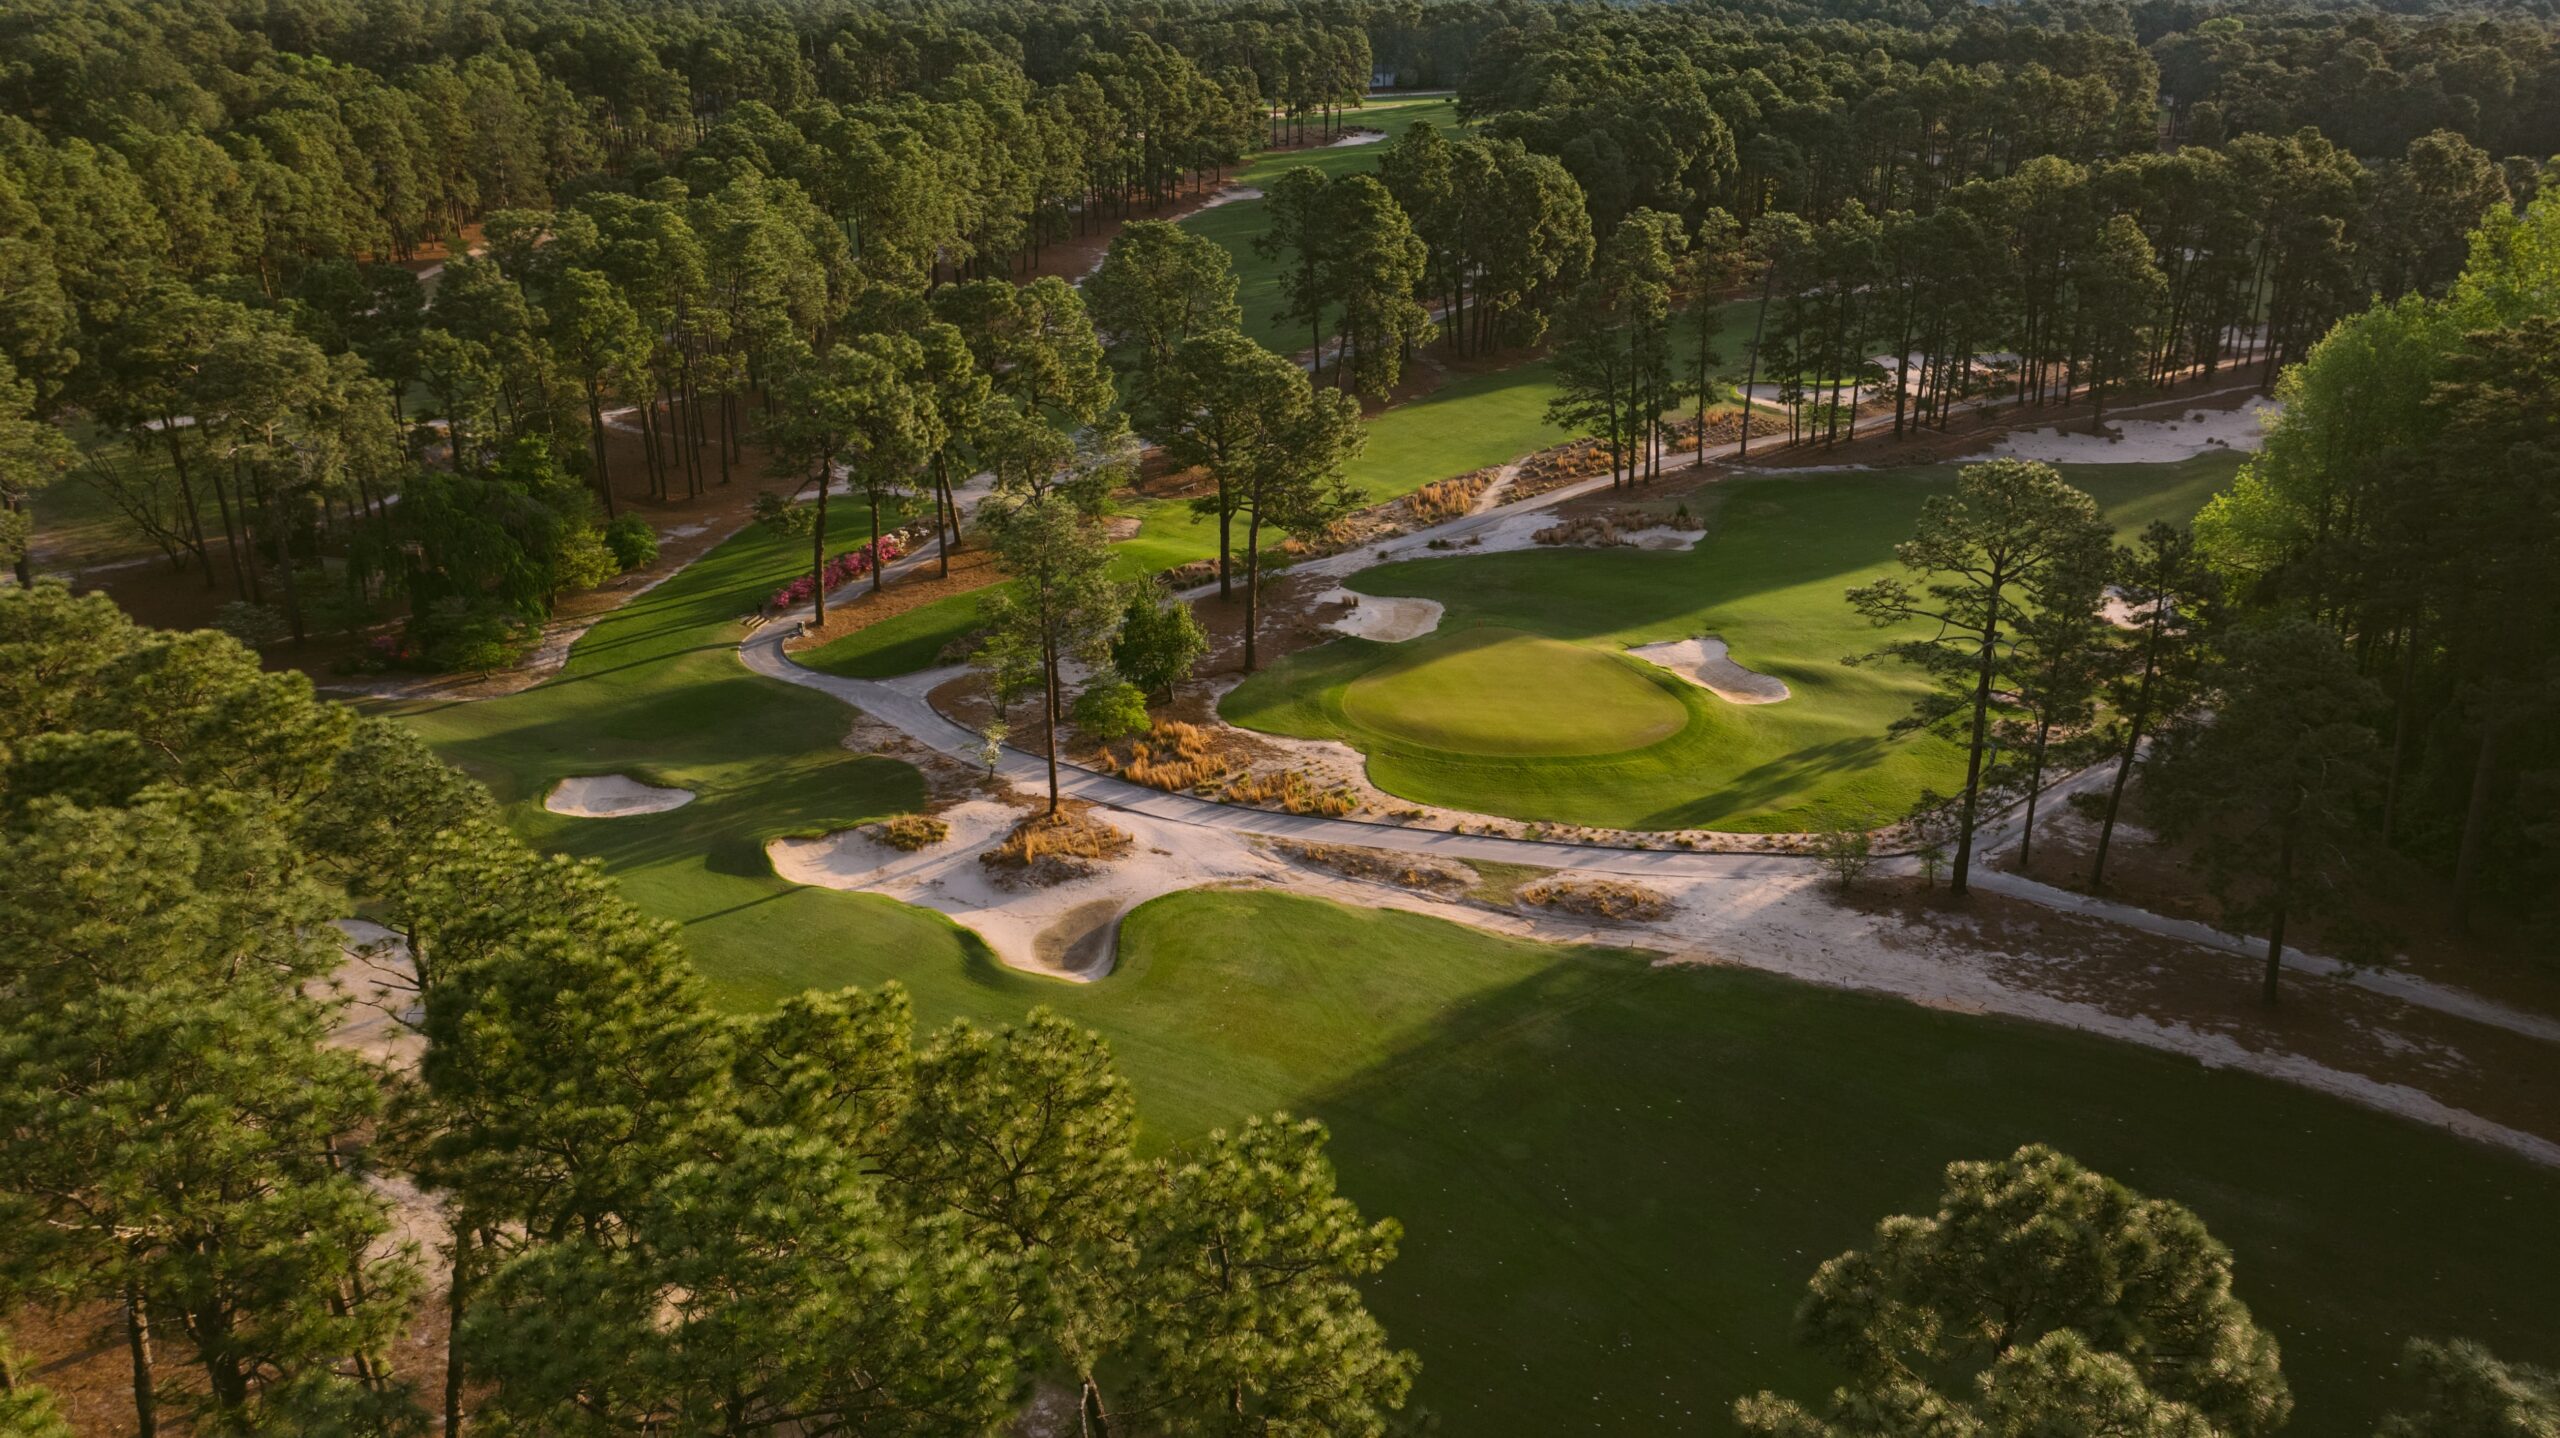
Consistently ranked among the top North Carolina golf resort experiences, Mid Pines’ design flows naturally with the land, embracing – rather than competing with – the rolling Sandhills terrain. True to Ross’ philosophy, the layout offers an engaging and strategic round that welcomes players of all skill levels while still challenging even the most seasoned golfers.
As one of the top NC golf resorts, Mid Pines delivers a balance of playability and tradition that continues to attract passionate players from around the world. Over the years, it has hosted notable competitions, including the 2002 USGA Senior Women’s Amateur Championship, reinforcing its reputation as both a competitive venue and a timeless golf destination.
*Outside golf may reserve tee times up to 30 days in advance.
Golf Club & Luggage Shipping
We’ve partnered with Ship Sticks to simplify the way you travel to Mid Pines Inn and Golf Club. Visit shipsticks.com to learn more about shipping your clubs and/or luggage in advance of your upcoming trip.
Mid Pines Golf Fees
| Dates | Monday – Wednesday | Thursday – Sunday |
|---|---|---|
| November 20, 2025 – February 18, 2026 | $115 | $125 |
| February 19 – March 25, 2026 | $175 | $195 |
| March 26 – June 14, 2026 | $265 | $285 |
| June 15 – September 9, 2026 | $185 | $205 |
| September 10 – November 18, 2026 | $265 | $285 |
| November 19, 2026 – February 17, 2027 | $125 | $135 |

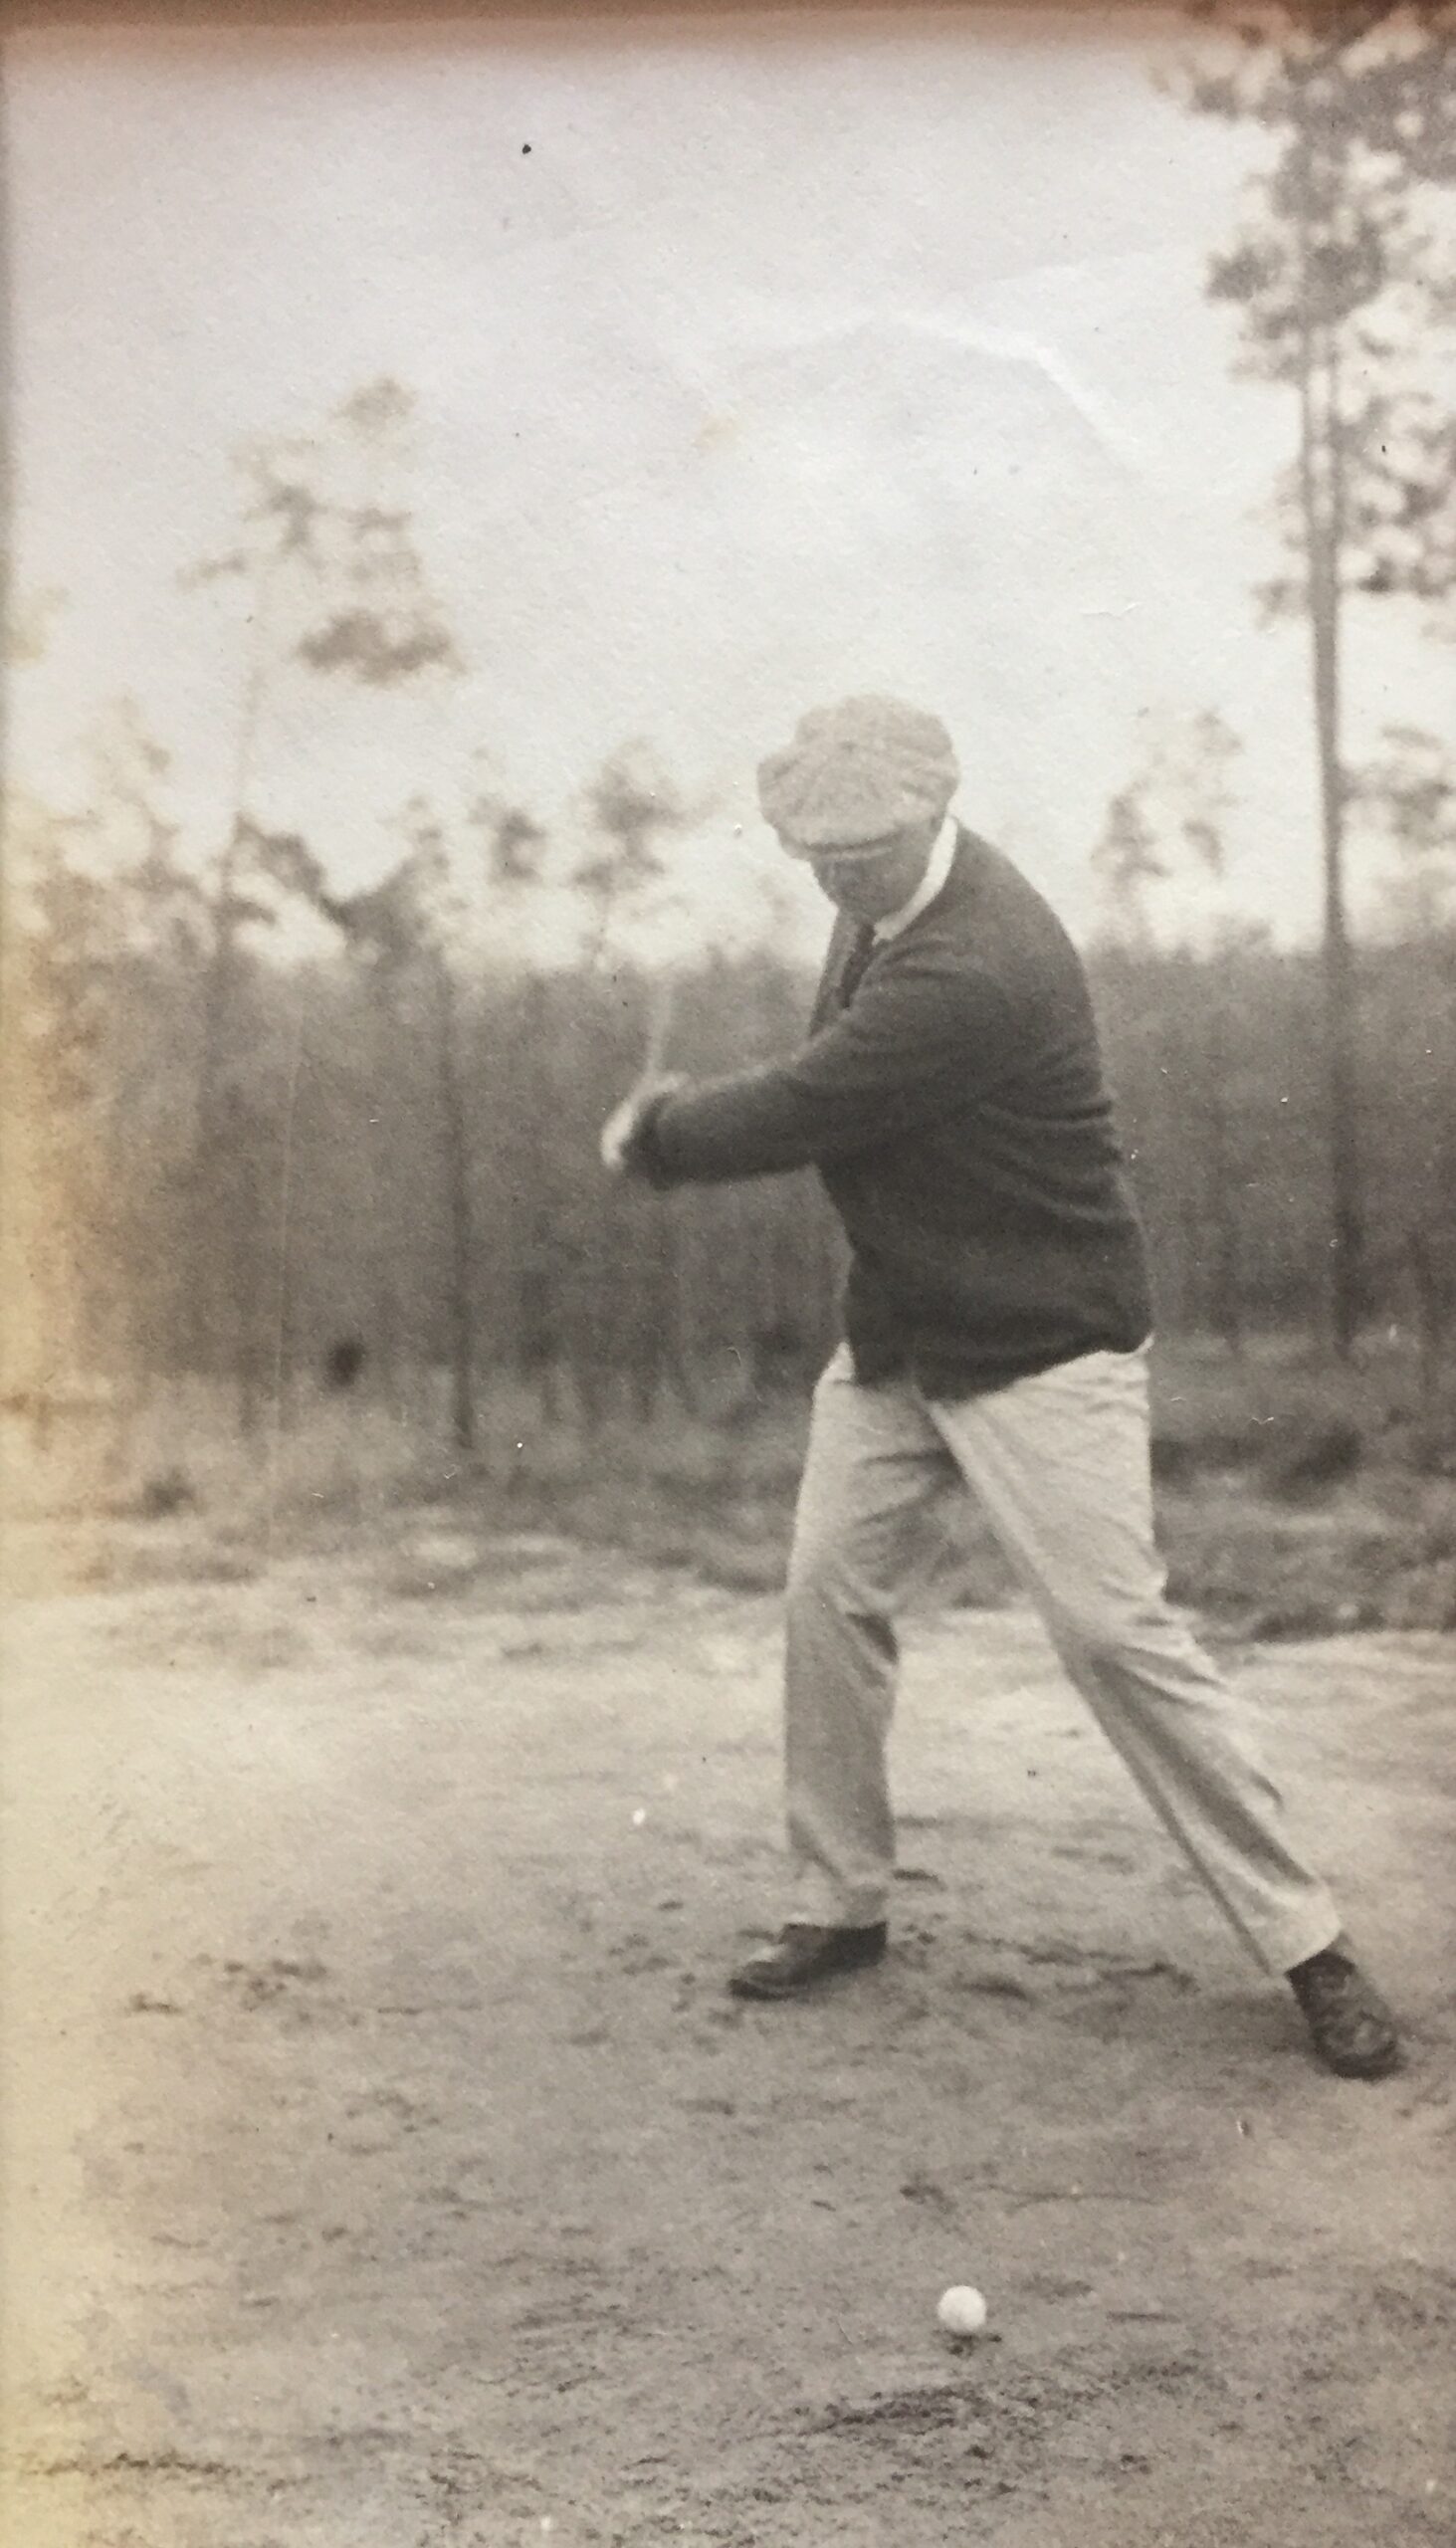
Donald Ross Golf Courses: The Architect Behind Mid Pines
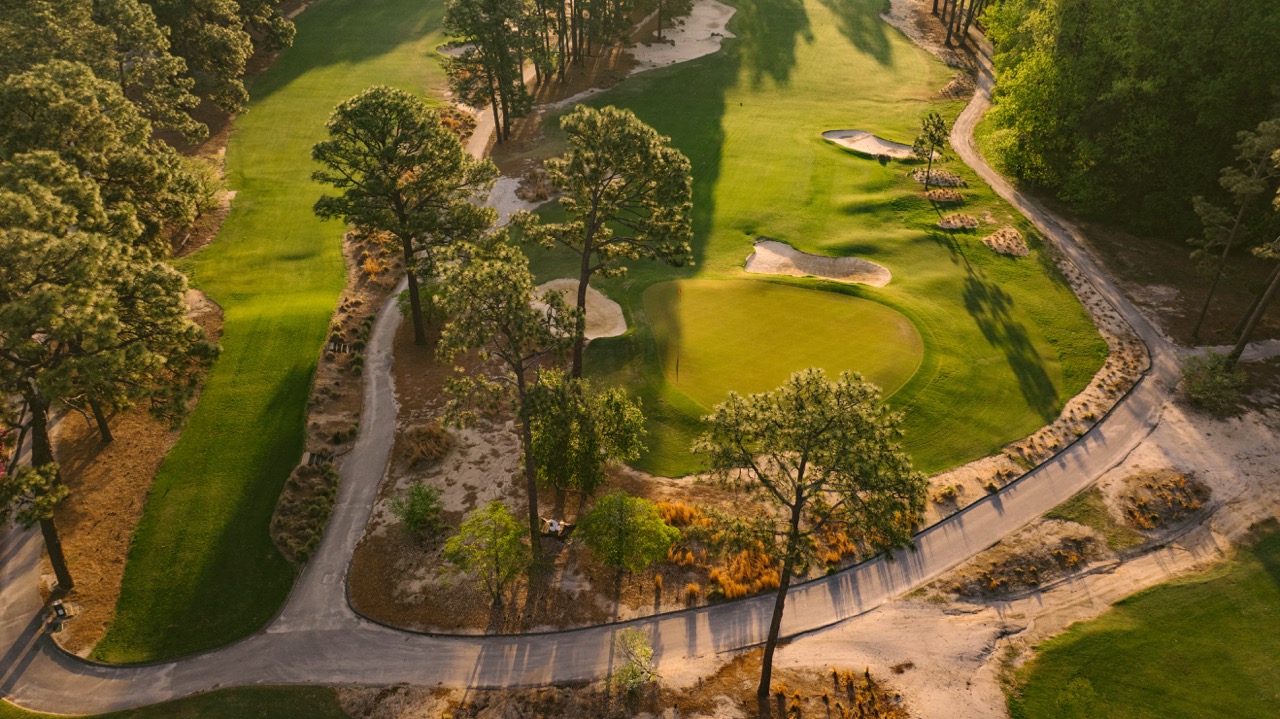
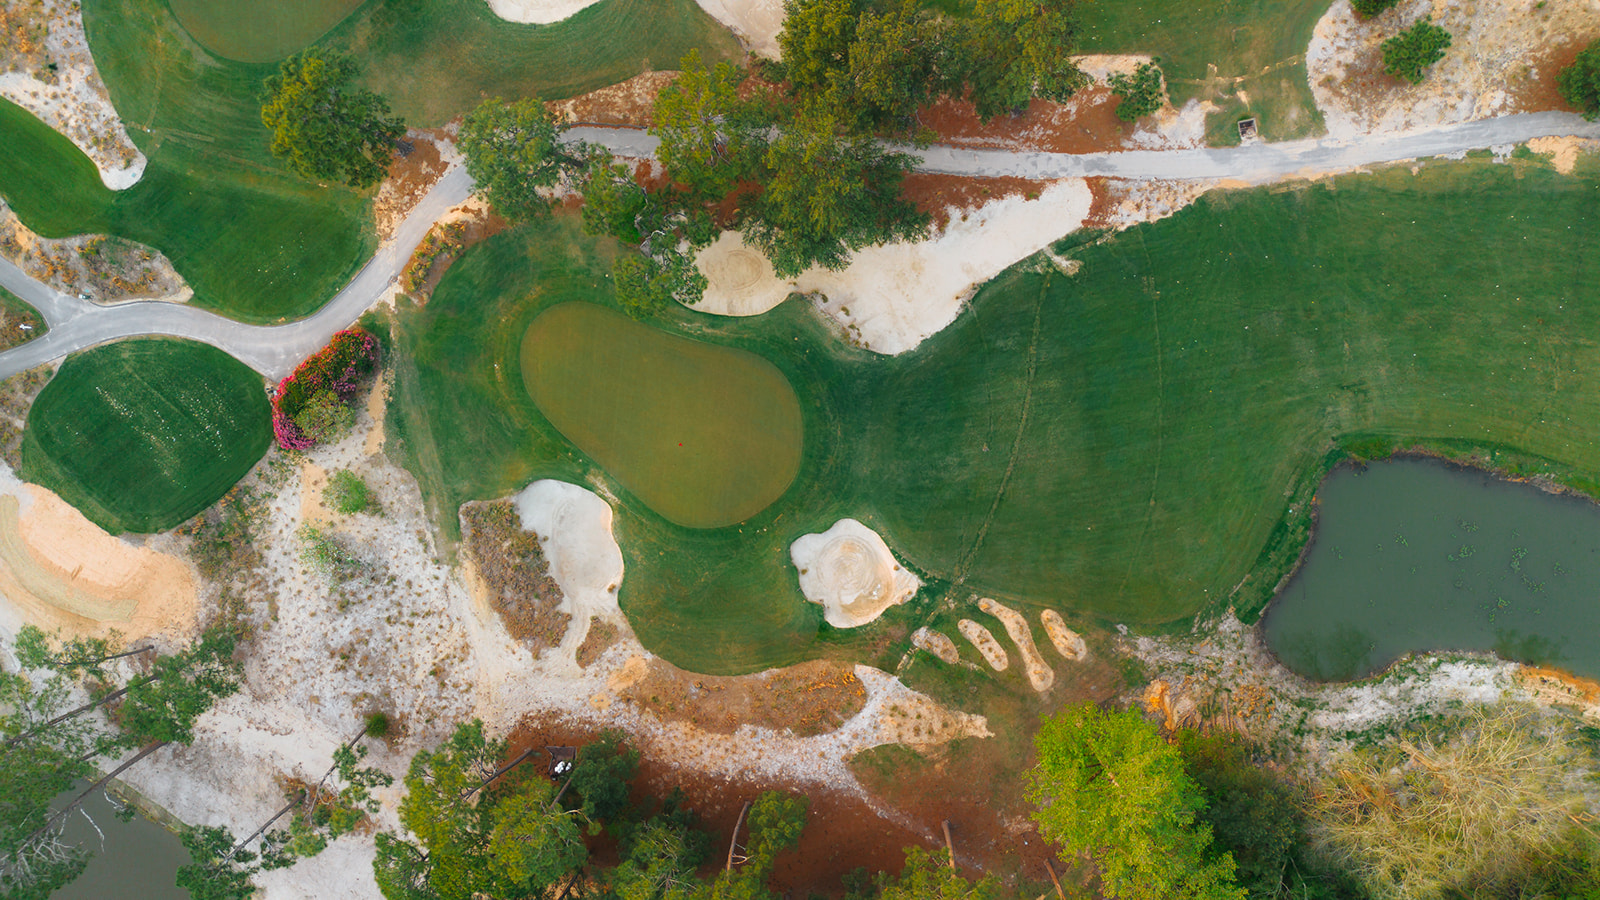
Mid Pines Golf Club stands as a distinguished example of the enduring legacy of Donald Ross golf courses. As one of the most influential figures in American golf, Ross shaped layouts that continue to define the game through a balance of strategy, playability, and natural beauty. Originally designed in 1921, Mid Pines reflects his signature approach, with subtly contoured greens, strategic bunkering, and a routing that blends seamlessly with the Sandhills terrain.
Thoughtfully restored in 2013 by Kyle Franz, the course remains true to Ross’ original vision while enhancing playability for modern golfers. The result is a timeless layout that rewards precision, creativity, and strategic shot-making. Today, Mid Pines endures as a tribute to Ross’ lasting influence on golf in North Carolina and beyond, continuing to resonate with players of all skill levels.

What Sets Mid Pines Apart Among the Top Golf Courses in North Carolina
Among the Top Golf Courses in North Carolina
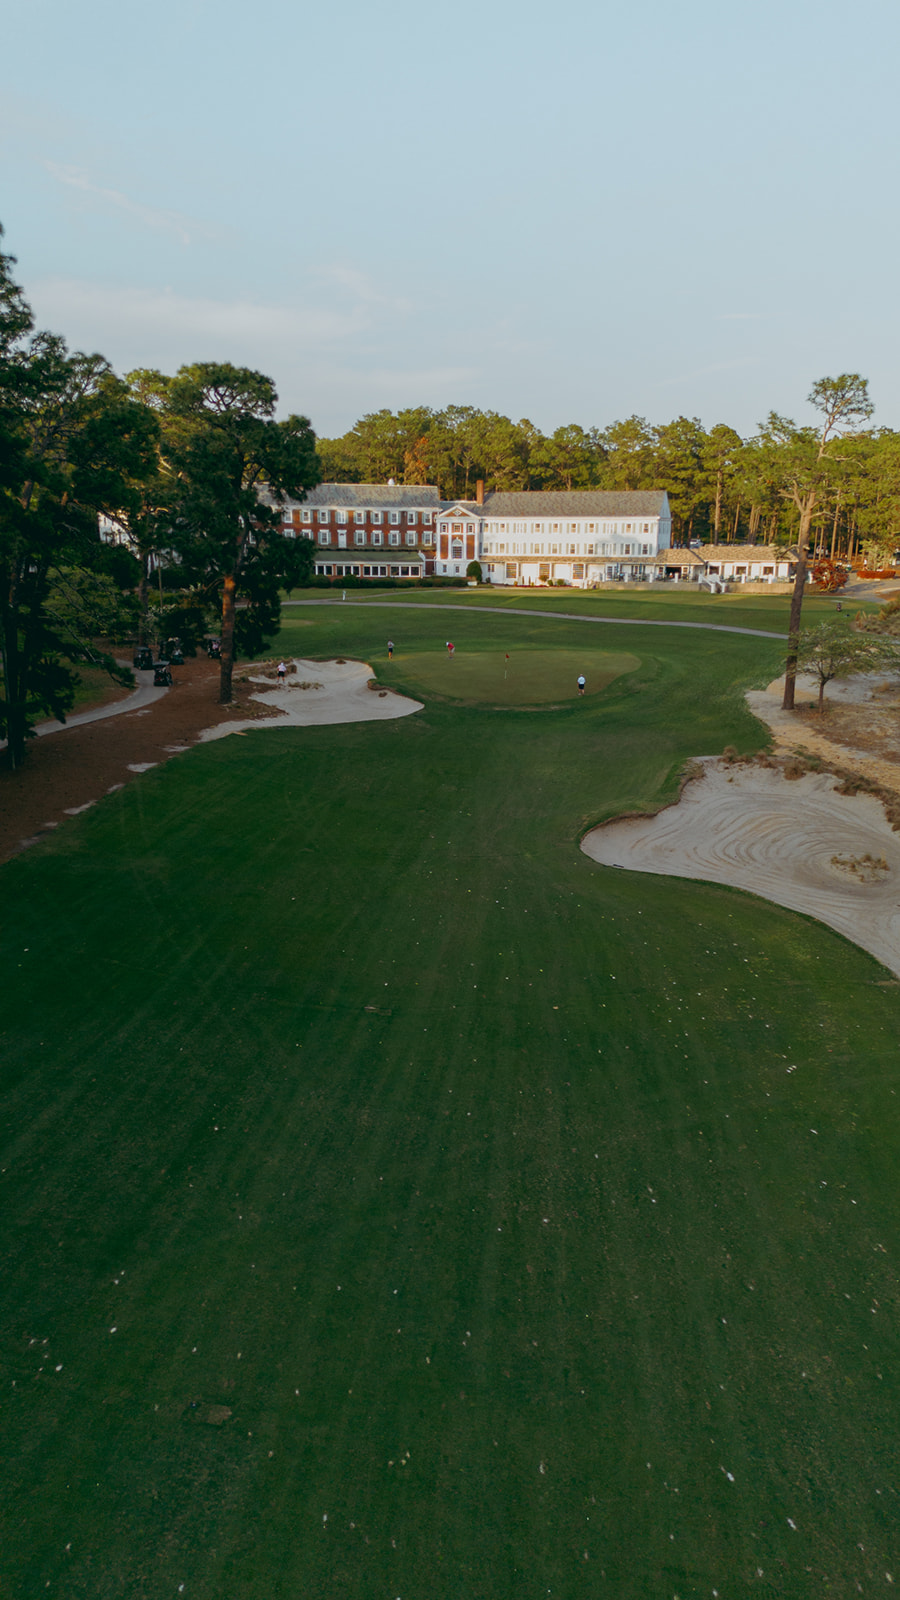
Mid Pines Golf Club is consistently recognized among the top golf courses in North Carolina, offering a timeless playing experience rooted in classic design. Originally crafted by Donald Ross in 1921 and restored by Kyle Franz in 2013, the course reflects a careful balance of historical integrity and modern playability. Measuring just over 6,700 yards, Mid Pines emphasizes strategy, shot-making, and an intuitive connection to the natural Sandhills terrain. Ranked among the best golf courses North Carolina has to offer, it delivers an experience defined by authenticity, understated beauty, and enduring character.
Award-Winning Golf Course in NC
As an award winning golf course in NC, Mid Pines has earned national acclaim for its meticulous restoration and classic architecture. The 2013 renovation was honored by GOLF Magazine as the Best U.S. Resort Renovation, buoying its claim as one of the best golf courses North Carolina is known for. Continuously ranked among the top golf courses in North Carolina by major publications, Mid Pines stands out for its walkable design, strategic greens, and commitment to preserving the essence of Ross’ original vision.
Championship Events and a Legacy of Play
Mid Pines has built a competitive legacy among the top golf courses in North Carolina. The course has hosted notable events including the 2002 USGA Senior Women’s Amateur Championship, showcasing its ability to challenge elite players while remaining accessible to everyday golfers. This balance of playability and competitive integrity defines Mid Pines as both an award winning golf course in NC and a historic venue. Today, it offers players the opportunity to experience one of the most authentic and celebrated North Carolina golf courses, where tradition and playability converge.
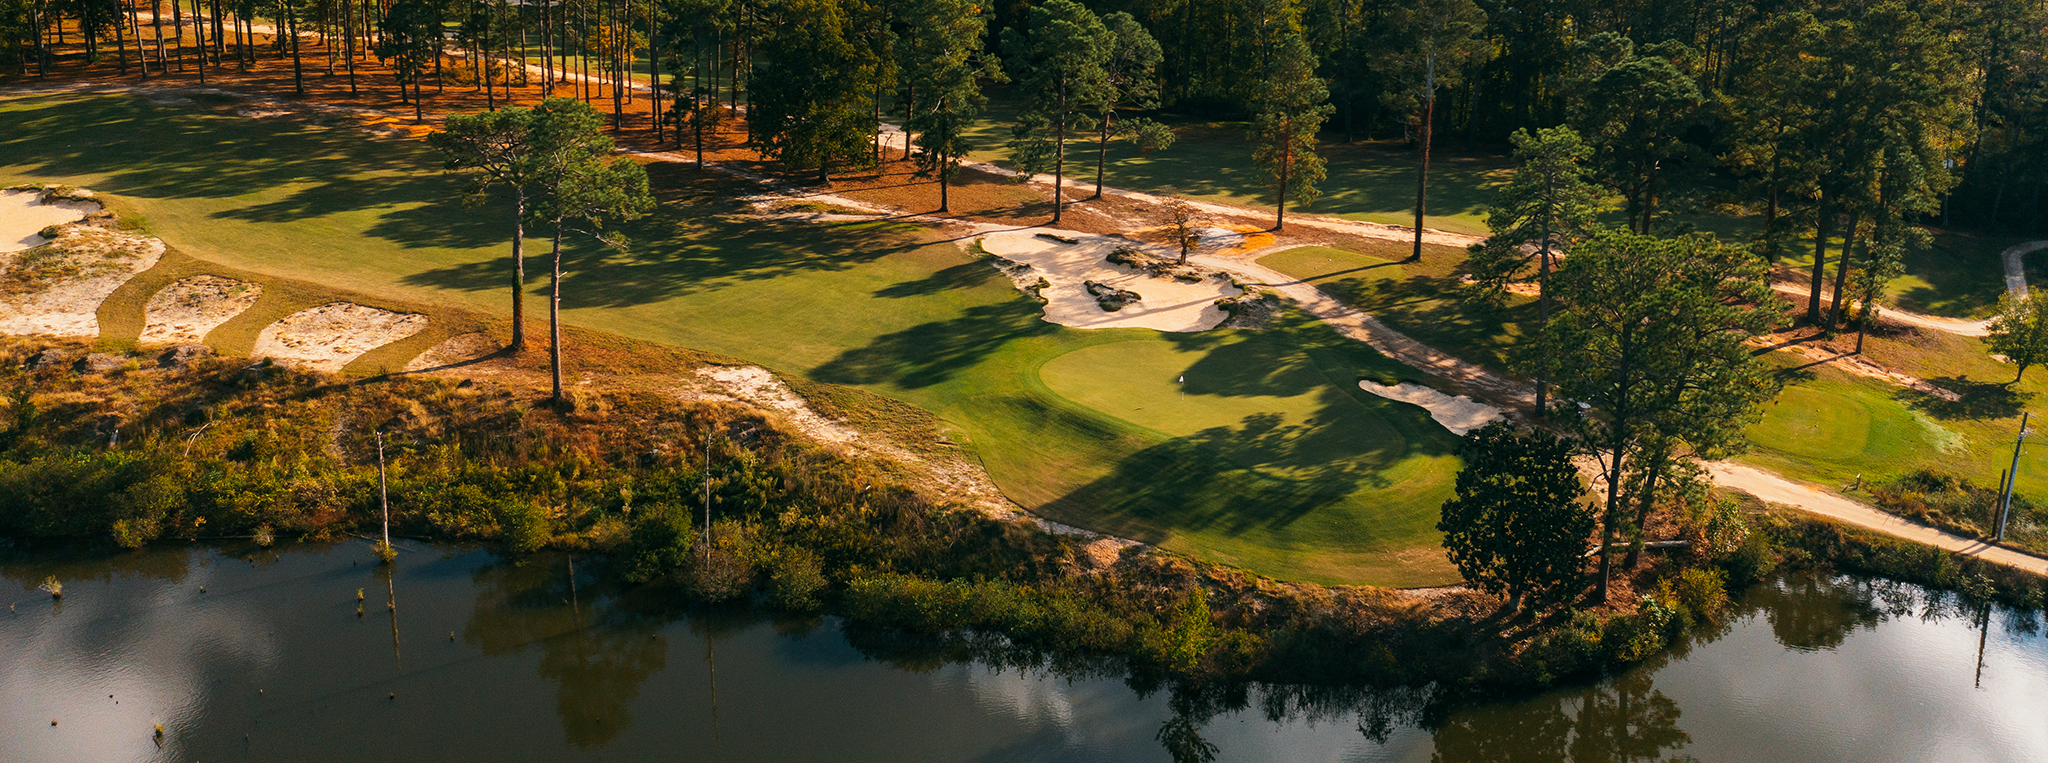
Play at Other Ross Resort Properties
Designed by Donald Ross in 1927 and restored in 2017, Pine Needles has hosted three USGA Women’s U.S. Open Championships and has been selected to host the 2019 U.S Senior Women’s Championship and 2022 U.S. Women’s Open.

Just across town, Southern Pines Golf Club offers 18 of perhaps the most rewarding golf holes in the Sandhills region. A true shotmaker’s golf course, Ross gives players options. At 6,500 yards, this extraordinary course challenges every level of play through a variety of shots from the tee and even more challenges into the greens.
Our Stories
-
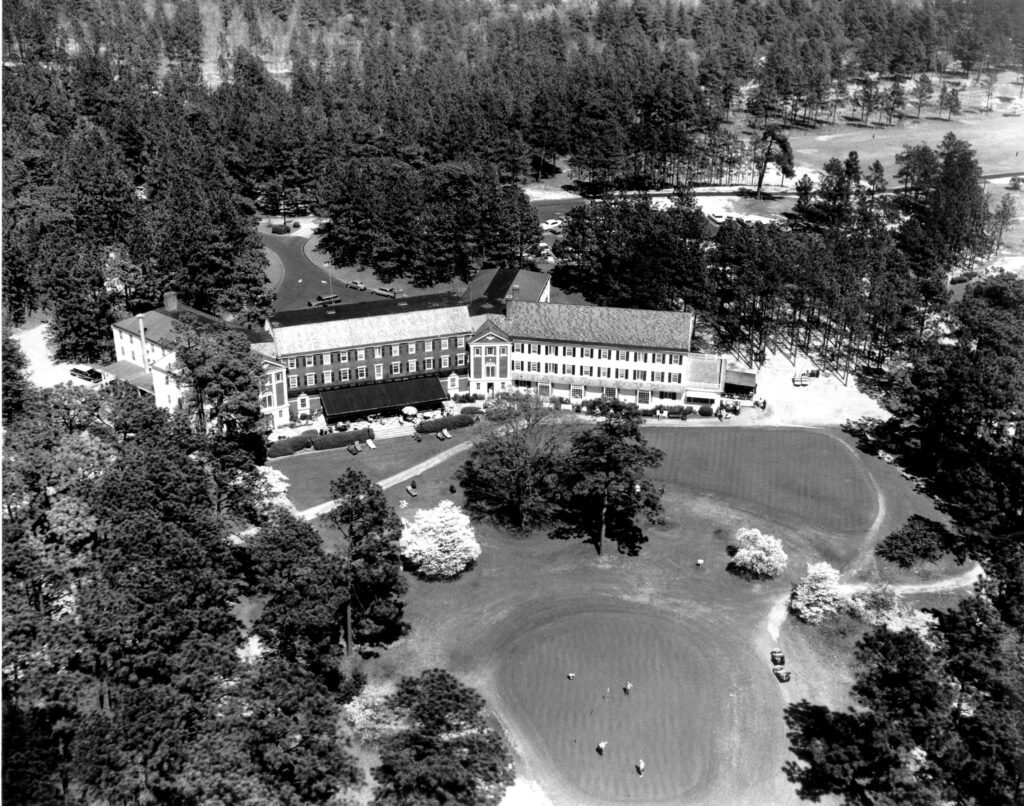
Mid Pines Inn And Pine Needles Lodge Enter Joint Venture With Marine & Lawn Hotels
SOUTHERN PINES, N.C. – Two venerable hotel properties with a combined two centuries of serving the Sandhills area golf community…
-
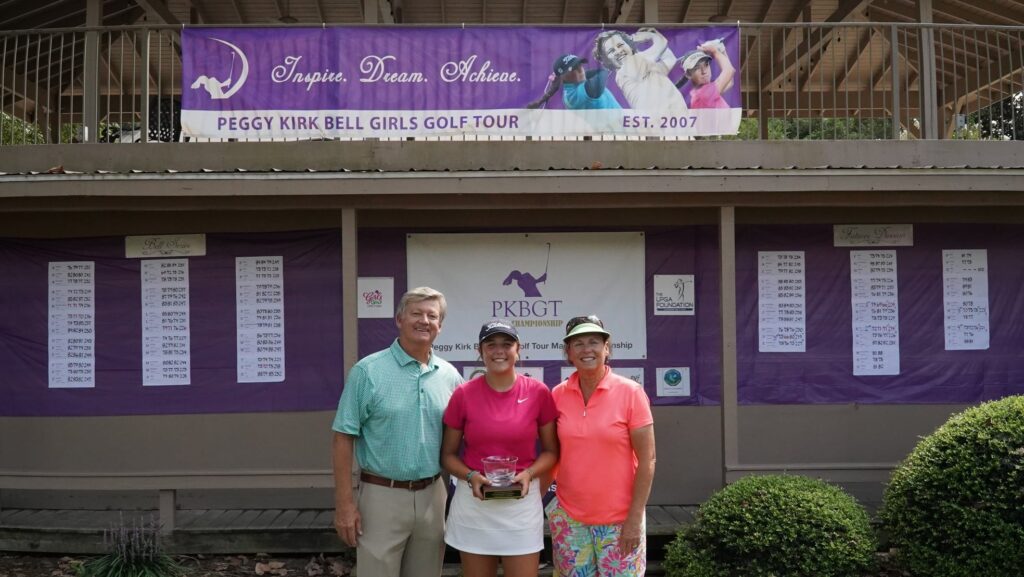
Peggy Kirk Bell Girls Golf Tour
The Peggy Kirk Bell Girls’ Golf Tour (PKBGT) was founded in 2007 by Girls Golf of America, a non-profit 501(c)(3)…
-

Peggy Kirk Bell, Instruction Pioneer And Gallery Favorite, Joins Golf Hall Of Fame In 2019
Peggy Kirk Bell would’ve fretted over her World Golf Hall of Fame speech. She was that way with all her…